
Kitchen Remodel & Update
I’ve lived in this house for a year now, and really only wanted to update the kitchen. It was dark and builder-boring! I had bought and installed the dark cabinet to use for a pantry, and the large piece blocked the natural light coming from the back door, so I needed to find ways to brighten the space! Putting a window above the kitchen wasn’t going to work for me since I used that space as a dish drying rack and I didn’t feel up to cutting into the house, so I had to get creative.


There was also this annoying 3” gap between the top of the cabinets and the ceiling. Who does this? It’s too small to use as a place to display things, and big enough to gather dust and be ugly. So the first thing to do was to close up that gap. I bought trim from a local discount place and cut it to size - then realized I had a problem...there was nothing to nail the trim into! So I found some scrap 2x4 pieces, glued them with liquid nails to the back wall, and then used them as a brace to nail the trim to!


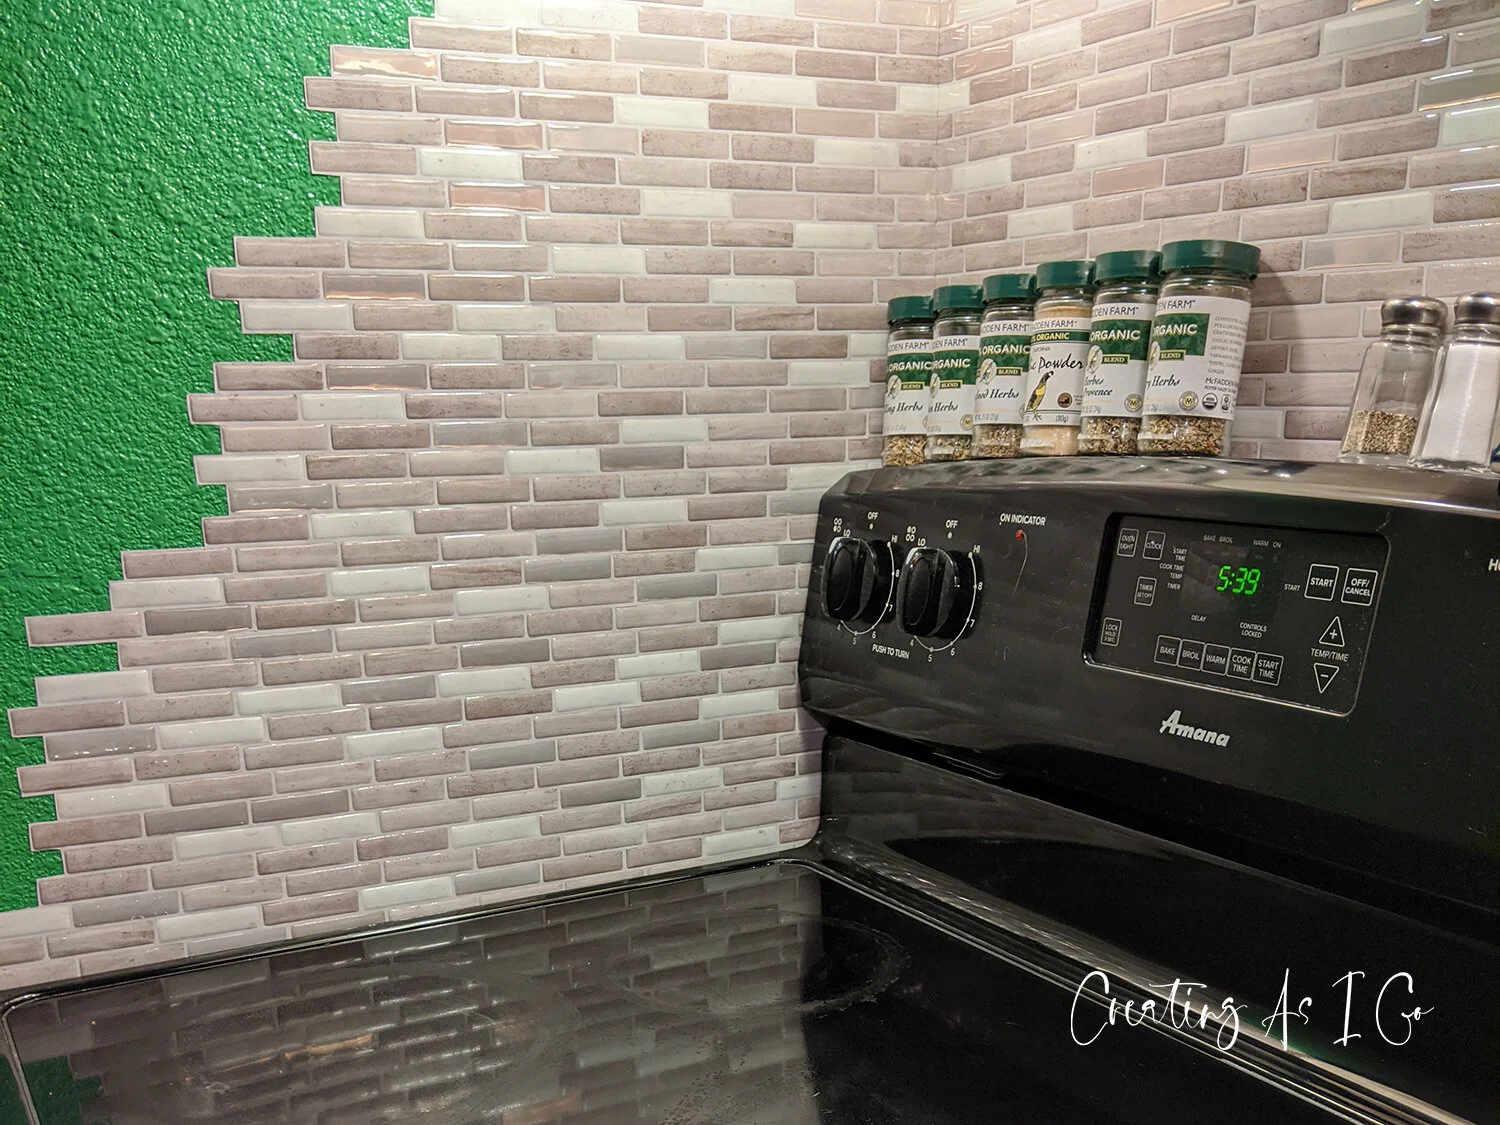
I decided to go with a coffee theme in my kitchen, but didn’t want to paint it brown...so I went with the color of green for the coffee plant leaves. It’s an interesting choice for the kitchen, but it’s grown on me. Besides, the color was called “mixed veggies”...can’t be more perfect for a kitchen, can it? I painted the dead-end wall green, and behind my refrigerator. I also bought a shelf on clearance in Ikea to put above my refrigerator and create a little more storage. It was originally black, but I used the same paint as what I was going to put on my cabinets and it blends in perfectly. I love my black appliances and had no intention of updating the counter tops, the sink, or the appliances, so I went to work trying to make the dark counter tops match the planned lighter cabinets. I found some peel and stick tile that had some of the lighter colors from the paint I was going to get, as well as some of the darker colors from the appliances and counter, so I hoped that this would be a good blend of the two. I cut the peel and stick to be an abstract ending and I think it turned out okay.

Next was the cabinets. I had done some research on Pinterest about painting kitchen cabinets and one blog I found talked about Milk Paint and that you didn’t need to sand/prime prior to using this. That sounded like a dream come true for me. But, the paint was $80/gallon! I did the math and bought 4 gallons of Milk Paint in Linen (didn’t want it blinding white), and pulled the doors off the cabinets and got to work. I cleaned each one, put on Netflix, and started painting.


…thanks, cat…
First, the paint was super thick. But I still had to put 3-4 coats on each piece. It dried pretty quickly, so by the time I had gone through the line, I could go back to the beginning and do another coat. I painted the front of each of the cabinets and the trim and several coats on both sides of the doors. Once all of them were done, I rehung the doors and stepped back to survey the kitchen.
The paint had done the job. It was considerably brighter in this space! On a whim, I decided to get handles for the doors and drawers and fell in love with these. They add a little more character to the space (I even did the fake drawers under the sink so that they blended in).
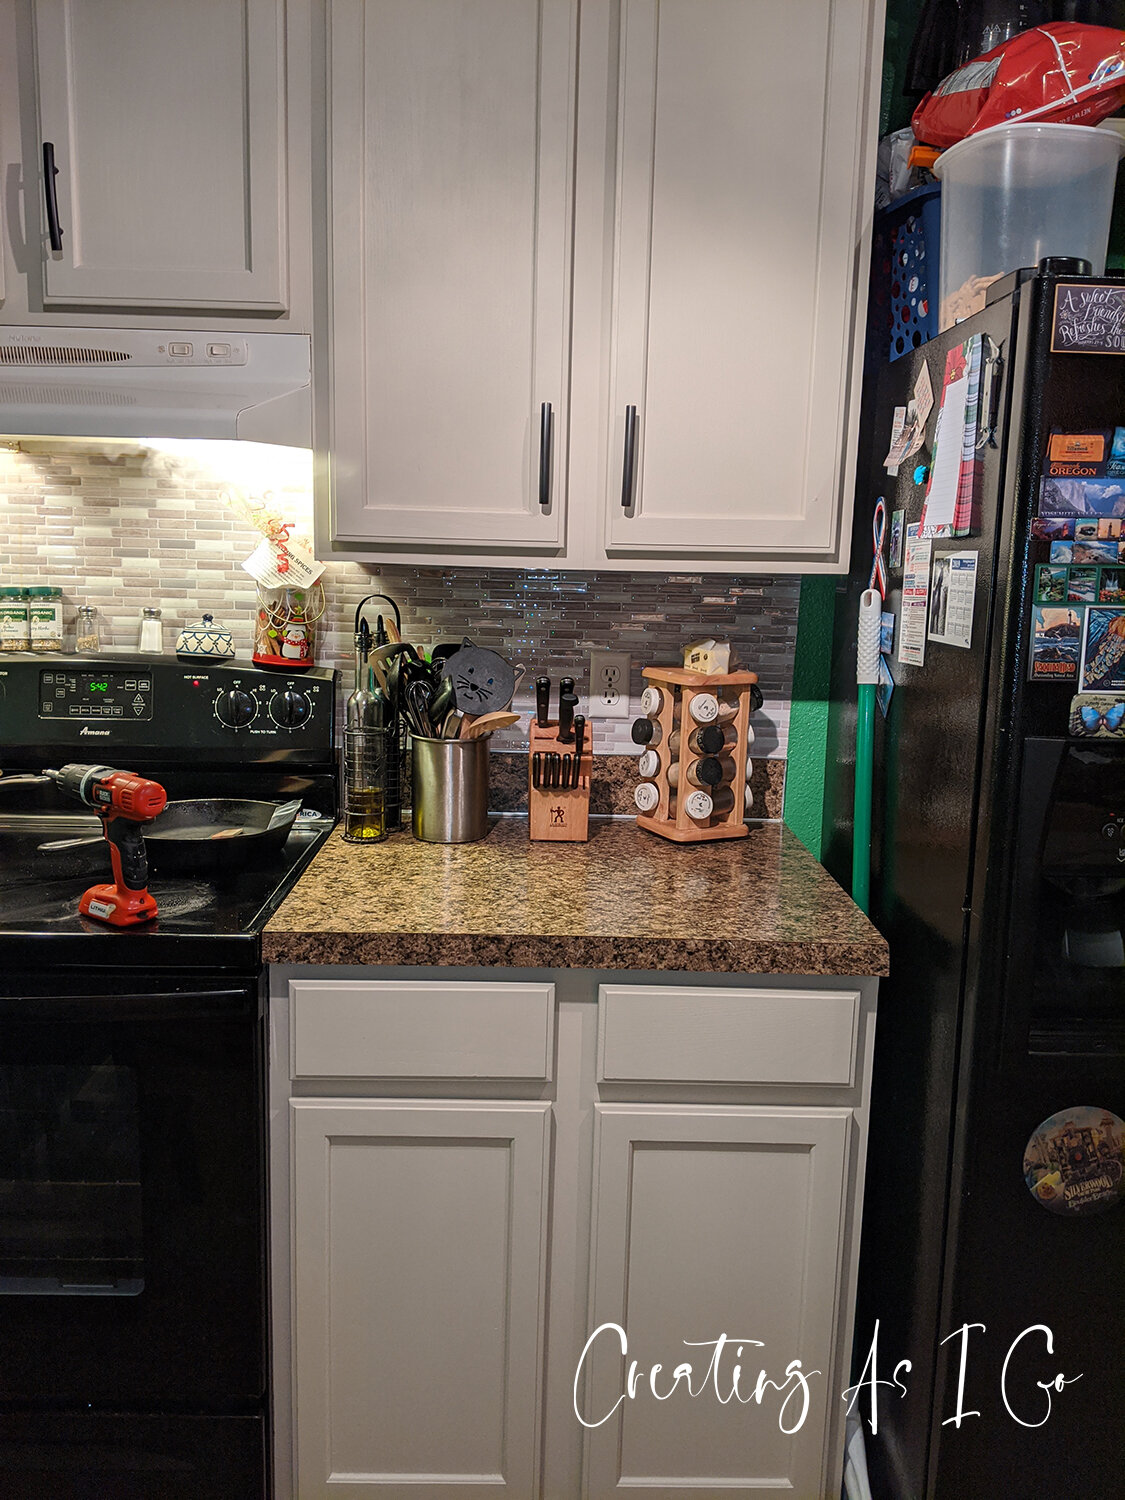
You can see the difference the handles make to the cabinets! Top ones have the handles, bottom ones do not.
After all that paint, I still had a quarter of a gallon left of my FIRST gallon. What???? Apparently a little goes a long way!!! So, I kept one more gallon of this paint and returned two for a refund. Phew - a little money back in the project (that’s how I justified buying the handles!). A few other things I got to save counter space: a new spice rack, a magnetic knife strip (instead of a block), and a paper towel holder to put under the sink.
The final touch was some coffee artwork that I made from images online. I loved the “horticulture” look to these and then aged them up a bit like they were on parchment. I had them printed on canvas and hung around my pots and pans.
One thing I will say about this kitchen, it’s unique. I don’t see many with this color combination! I’m not sure if it looks good or if I’ve just convinced myself that it does so that I don’t feel bad, or…? ;)
Disclaimer: This post contains Amazon affiliate links. I am a participant in the Amazon Services LLC Associates Program, an affiliate advertising program designed to provide a means for sites to earn advertising fees by advertising and linking to Amazon.com. This means that if you choose to purchase an item from a link in this post, I will earn a small advertising fee to help pay for future creations, so thank you!
Update January 2021. I’ve lived in this kitchen for a year now. The colors are still good for me and the tile and green has held up. I’d like to replace the kitchen sink some time (to be the same size/depth, but black). It’s still in really good shape, though, so I can’t justify purchasing a brand new sink right now. However, the milk paint has chipped in places. Fortunately I still have some (lol), so I can do a touch up, but now I wish I had at least sanded the suckers before painting (at the time, I didn’t have a sander, I only had sanding blocks or strips of sand paper and I DID NOT want to hand-sand these doors! But now I wish I had - that might have helped the paint adhere better to the doors).