
Building a Custom Built-In Closet
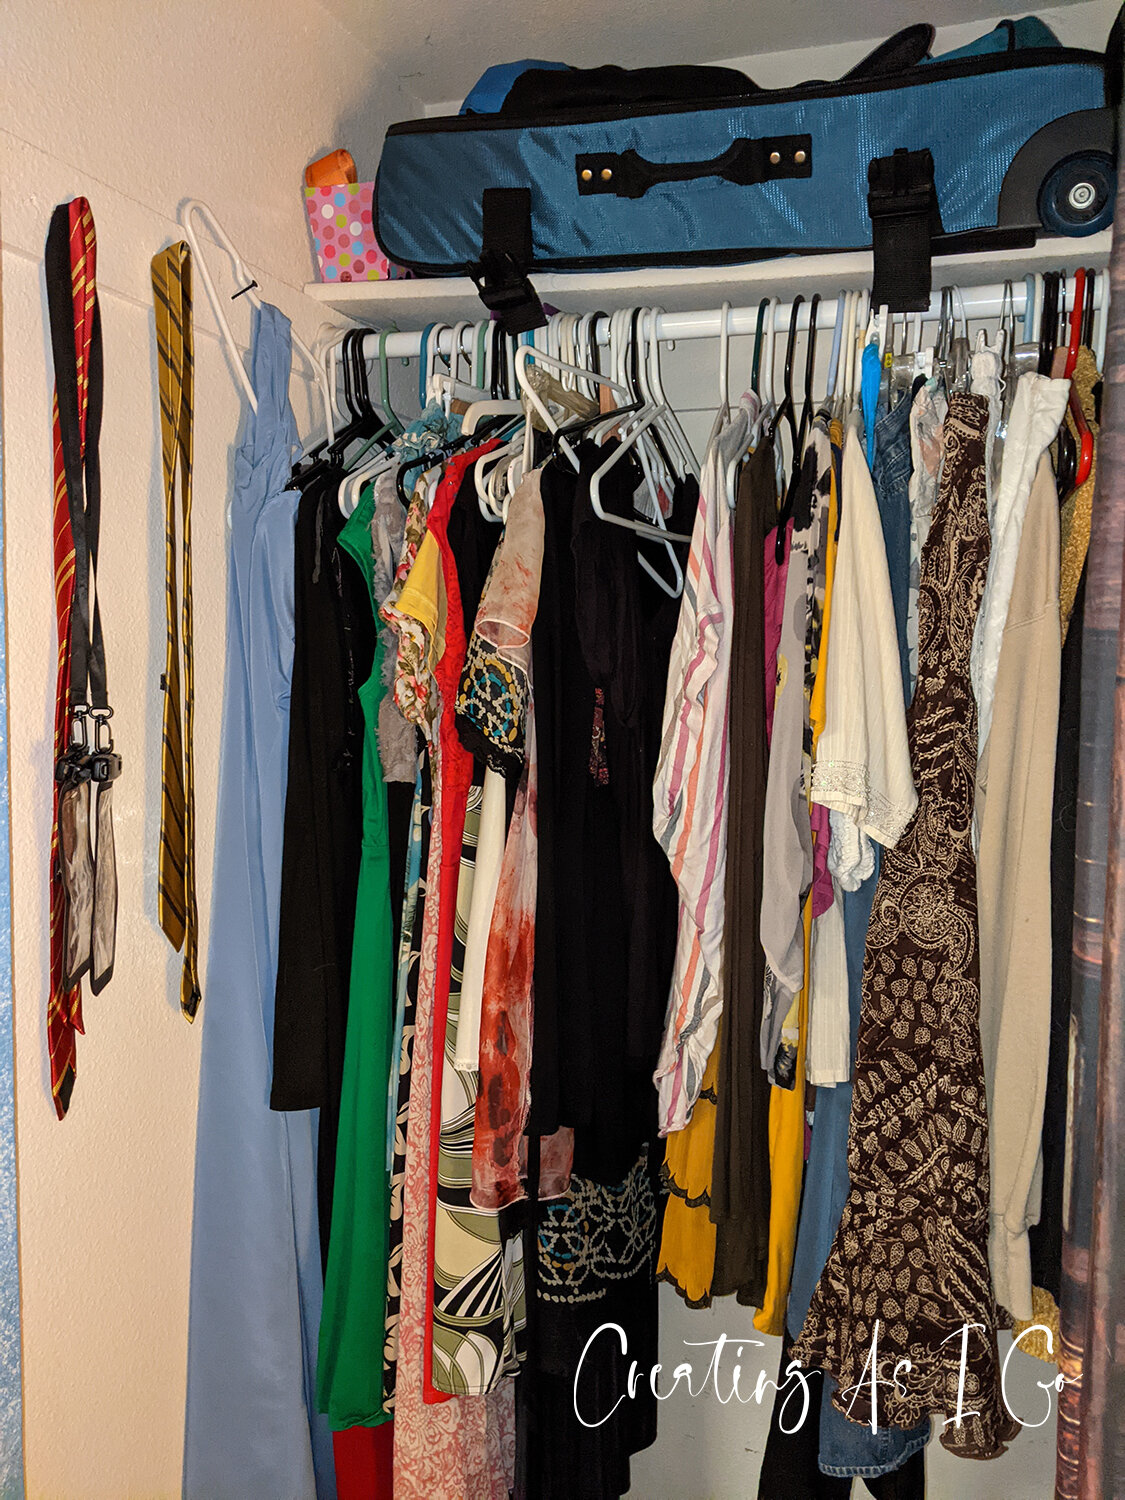
My master bedroom closet was an anomaly to me. It was large, but awkward. It wasn’t very long, but it was deep and it seemed that the space was not utilized to its fullest potential! And, to top it off, the access to the attic was in this closet, so the closet kits out there wouldn’t work with my space because I didn’t want to block access to the attic!


So, again, I went to Pinterest and Google and searched for closets. And nothing anyone had already done was going to work in this space - I was going to have to create as I went. I decided to make a modified ladder shelf for the middle that would double as shelves and an access to the attic space. Even though I’m single, this was technically a “master closet” so I wanted to design it as if two people shared this room and would work for them.


I drew my plans out on 4-5 pieces of paper, trying to put down on paper what was in my head. I don’t think I really succeeded - it made sense to me, but if I gave these “plans” to someone else, I think they would have difficulty making heads or tails out of it!
Supplies:
(6) 1x6x8 pine boards
(6) 1x4x8 pine boards
(3) 2x4x8 studs
(3) closet rods (20”-27” long. The ones I got could extend as much as 35”)
(6) corner brackets
Wood screws
Stain
Cost for this project was just under $150 (I already had the brackets, screws, glue, and stain)


First things first: do as much as I can in the garage before gutting the closet. I didn’t want the pile of clothes on my bed to be there for too long! So, I built the shelf ladder legs first. Most shelf ladders have an angled leg, but I opted for straight legs so that the brace for the closet rods would be easier to install. Once the two legs were assembled, I cut out the boards needed for the steps and storage above and did a “dry fit” of the boards to make sure my math was right. I decided to do all my cutting and sanding first so then when the stain was drying, it wouldn’t get all dusty with more sanding!


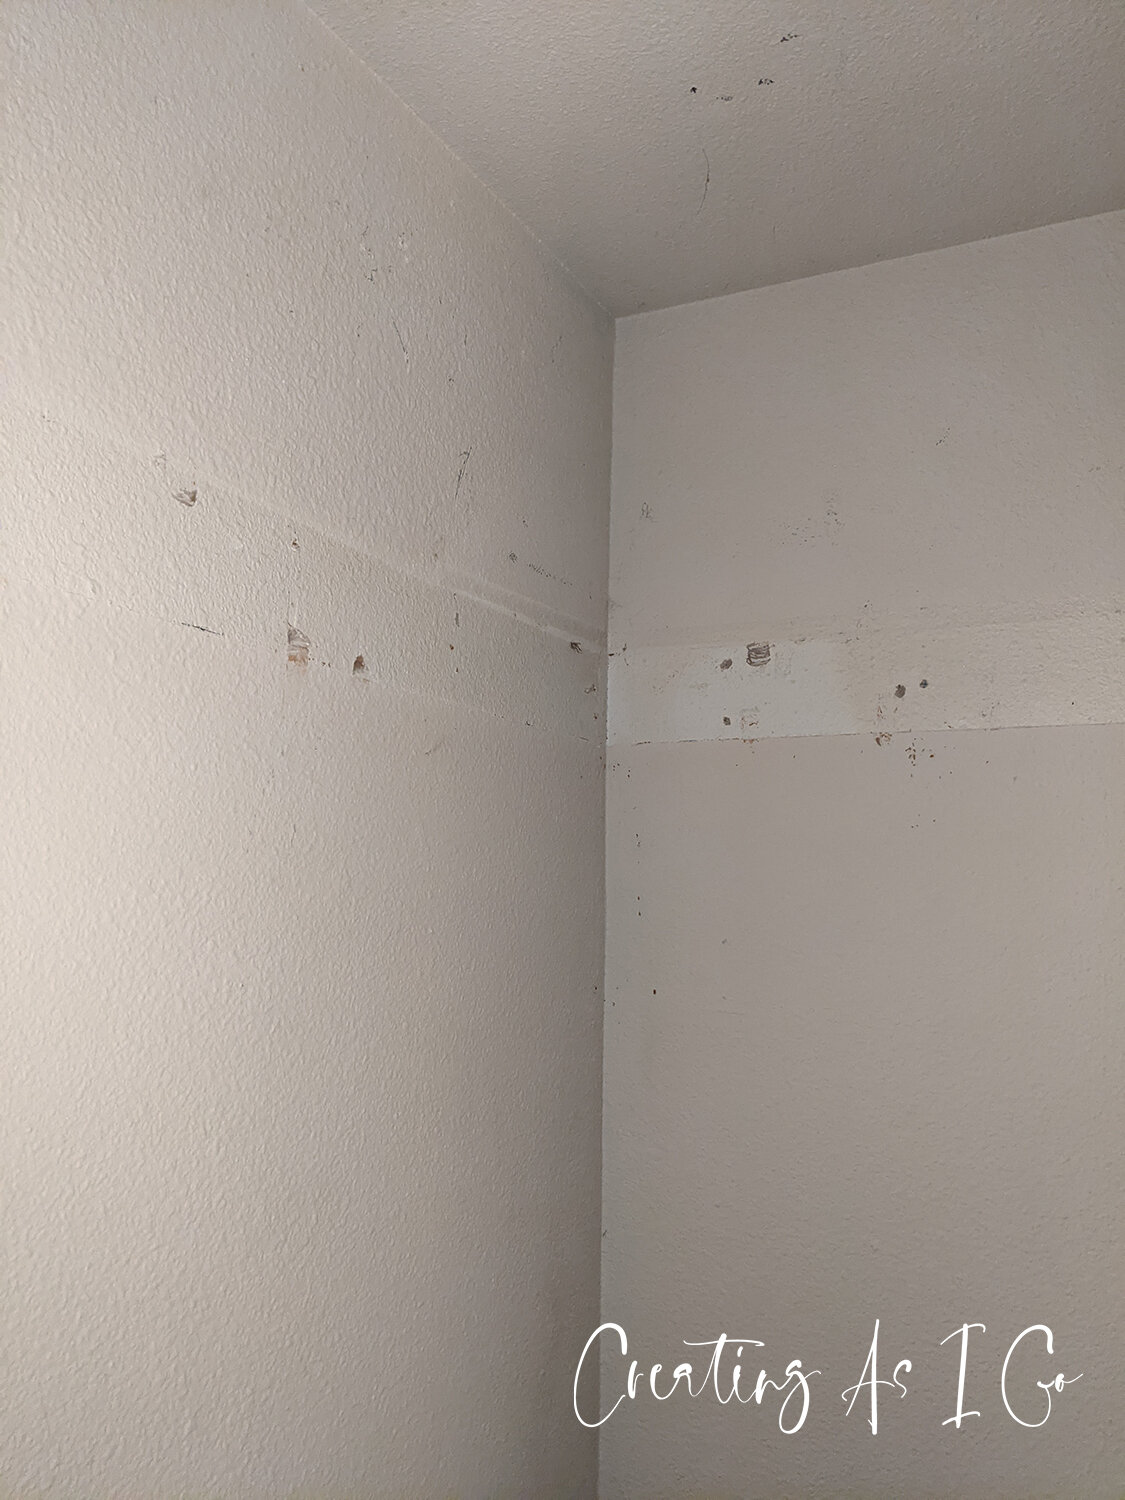
Next, I gutted the closet. The top shelf barely held anything for storage - the suitcases I had up there were precarious at best. I was hoping to reuse the braces that were in the walls, but only one came down whole - the rest were in pieces. This was not planned in my purchase of materials, so I had to look in my scrap wood for something that was long enough to be braces for my upper storage and also wide enough to be my support for the curtain rod holders to screw into. I found a piece of scrap and cut it to fit and painted it white to match the rest of the closet interior. Speaking of which, after pulling down the old braces, I realized I needed to fill the holes and paint since that area was now going to be visible (the new upper shelf would be higher than the old one). Unfortunately, the white paint I had didn’t match the paint already in there, so I ended up repainting the entire closet… :/


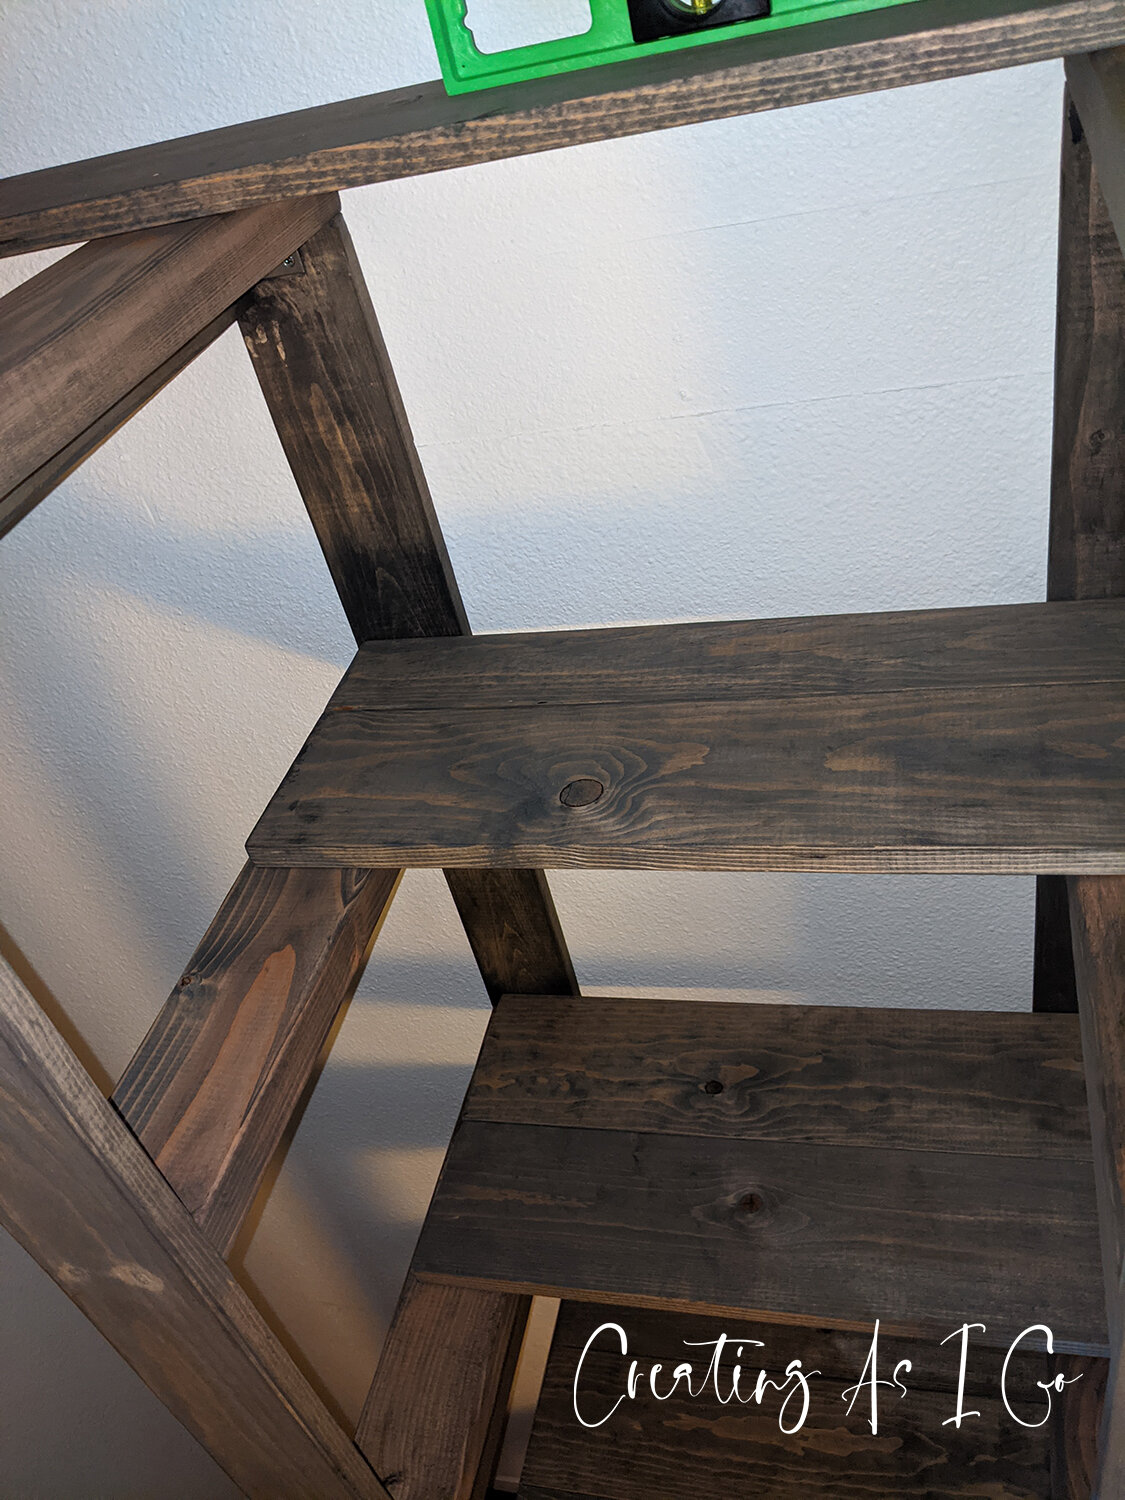
Next came the part where I tossed my written plans out the window. I had originally meant to decrease each step by 2” (i.e. the first step was 20” long, next one above that was 18”, etc). But before I screwed the steps into the legs, I did a dry fit to see if I liked that. I did not. It made the stairs too steep! So, I went with a 4” difference...now, was I in trouble with what I had cut/stained? I swapped boards around (some of them were 1x6 and others were 1x4) and was left with two left-over boards and a stair that seemed more do-able to navigate than before! Again, I was #creatingasigo ;) I screwed each board into the 2x4 legs - I really wanted these to be sturdy. Once the shelves were in, I located where the new wall braces would go on the sides and screwed in my pieces of wood into the studs.


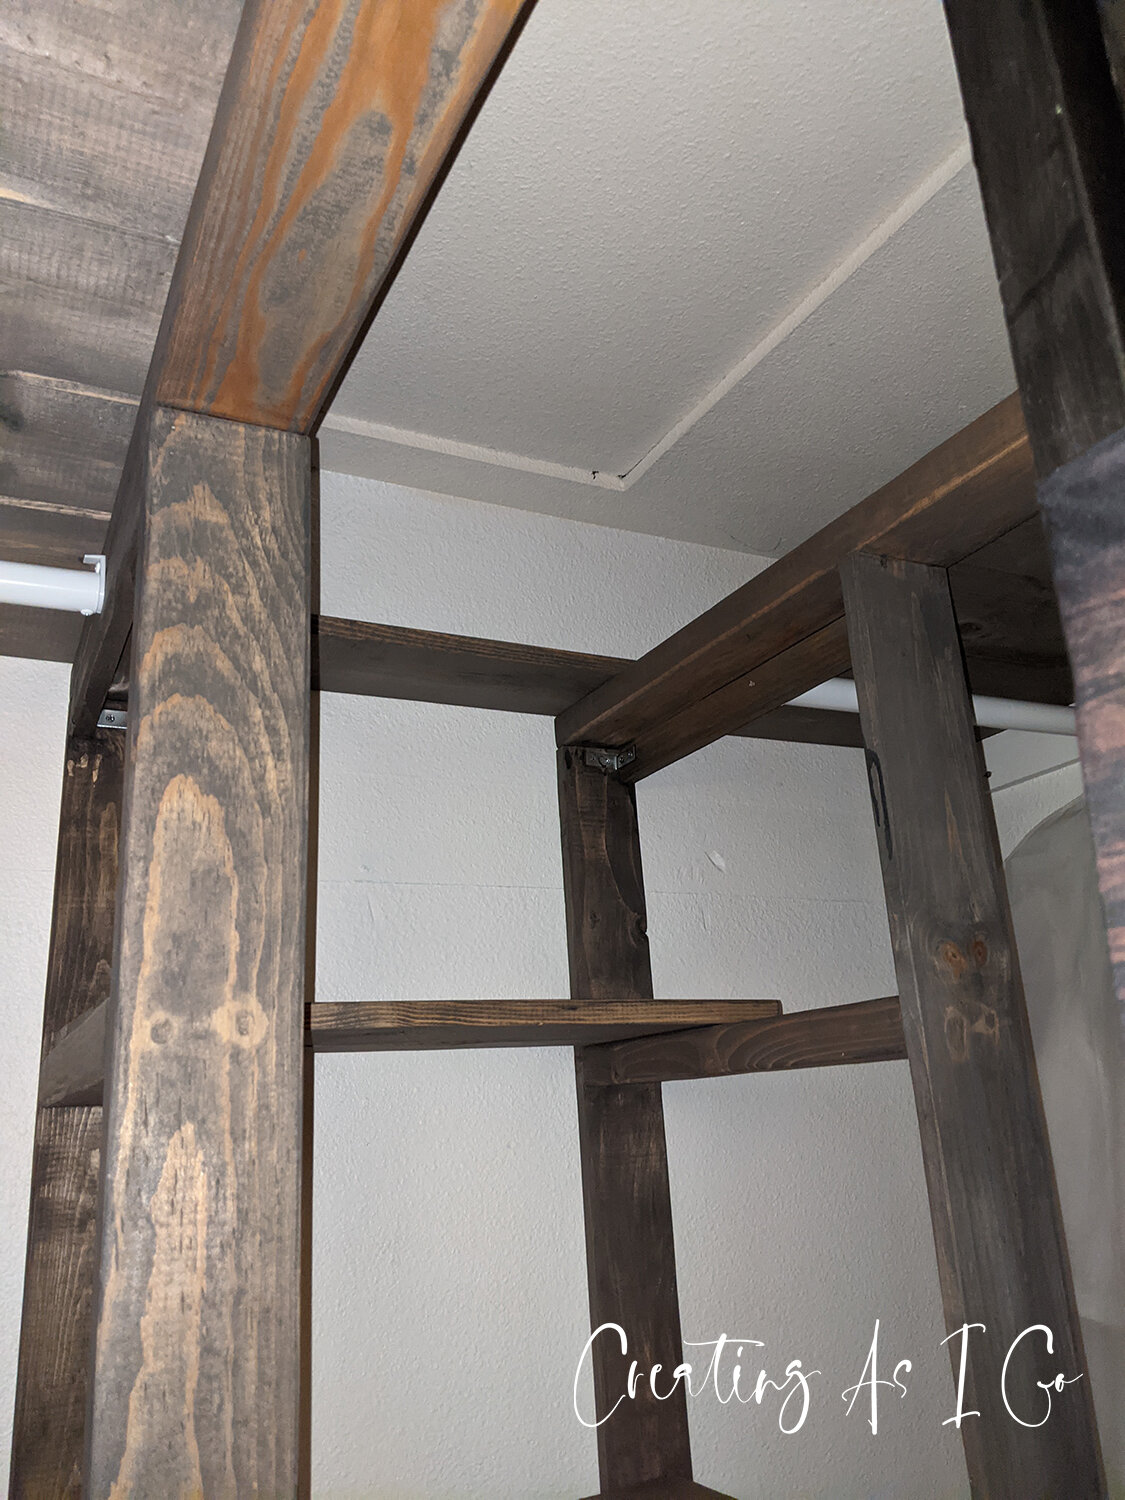
Then, up went the rods and a dry fit of the boards across the top to create storage. I knew it wasn’t going to be a solid fit, but a nice finger-width between boards was going to work! :) I screwed the boards into the leg brace and the wall brace and surveyed my results. So far so good! Attic was still accessible via the ladder, I now had storage where things weren’t precarious, and was utilizing the entire space of the closet with the double rods! Now the only thing missing was some light and some storage for the shelves.


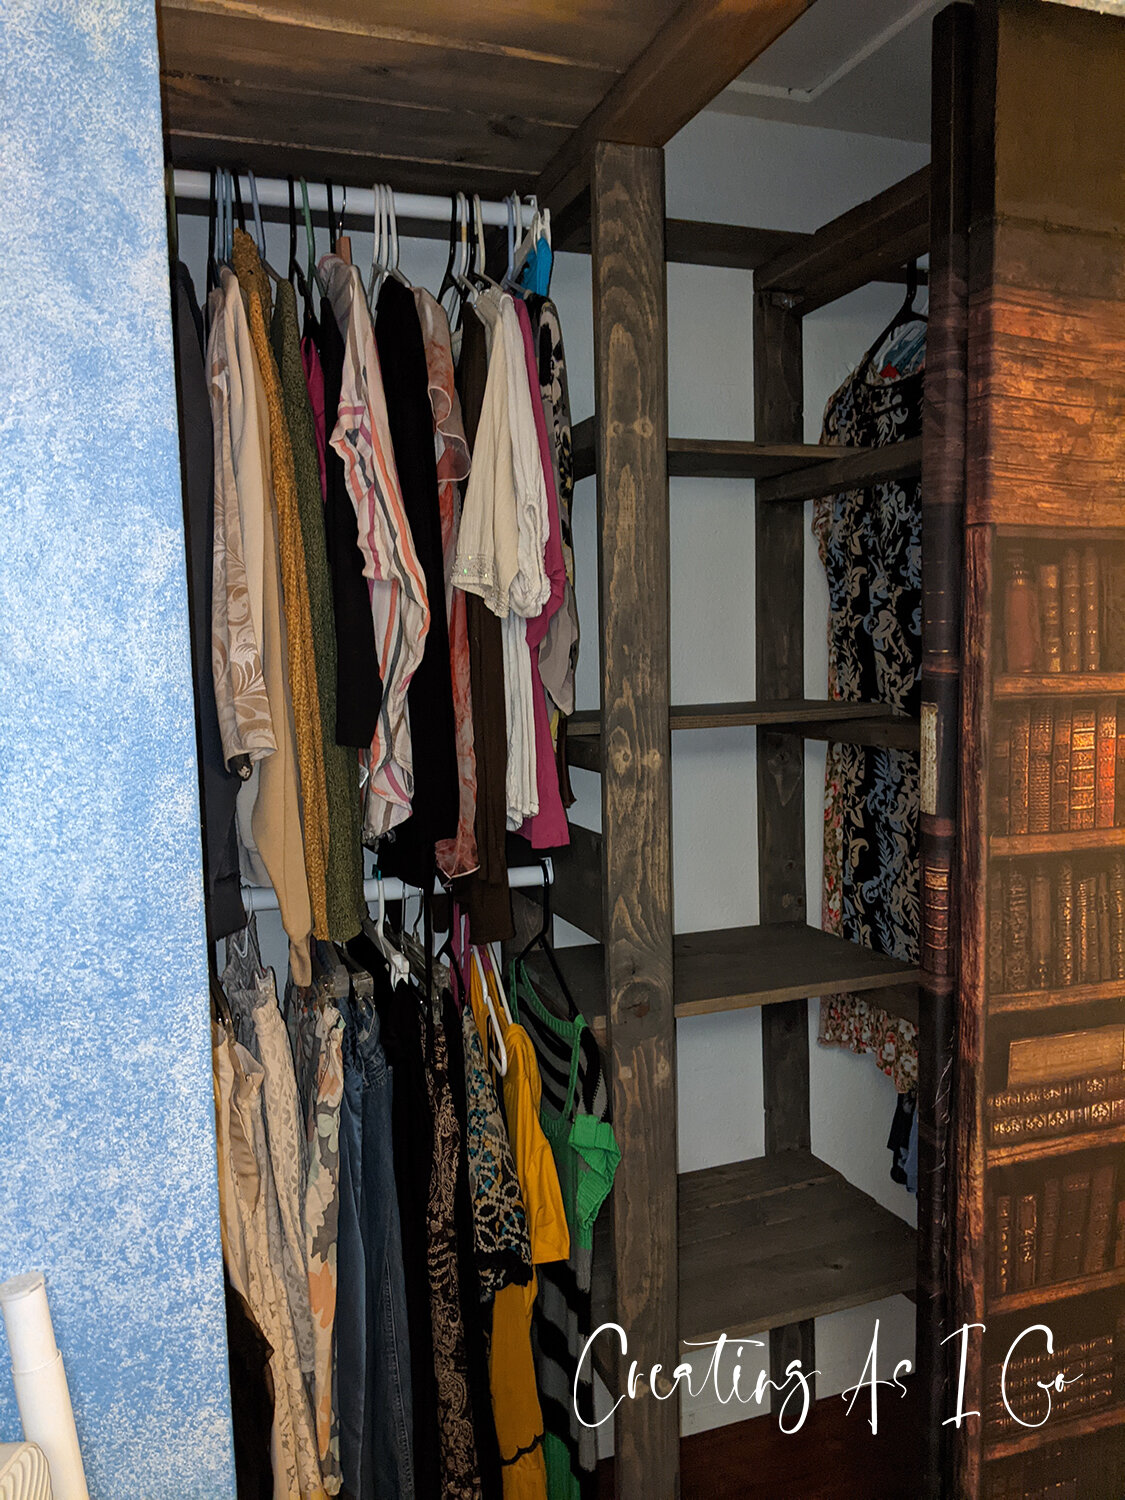
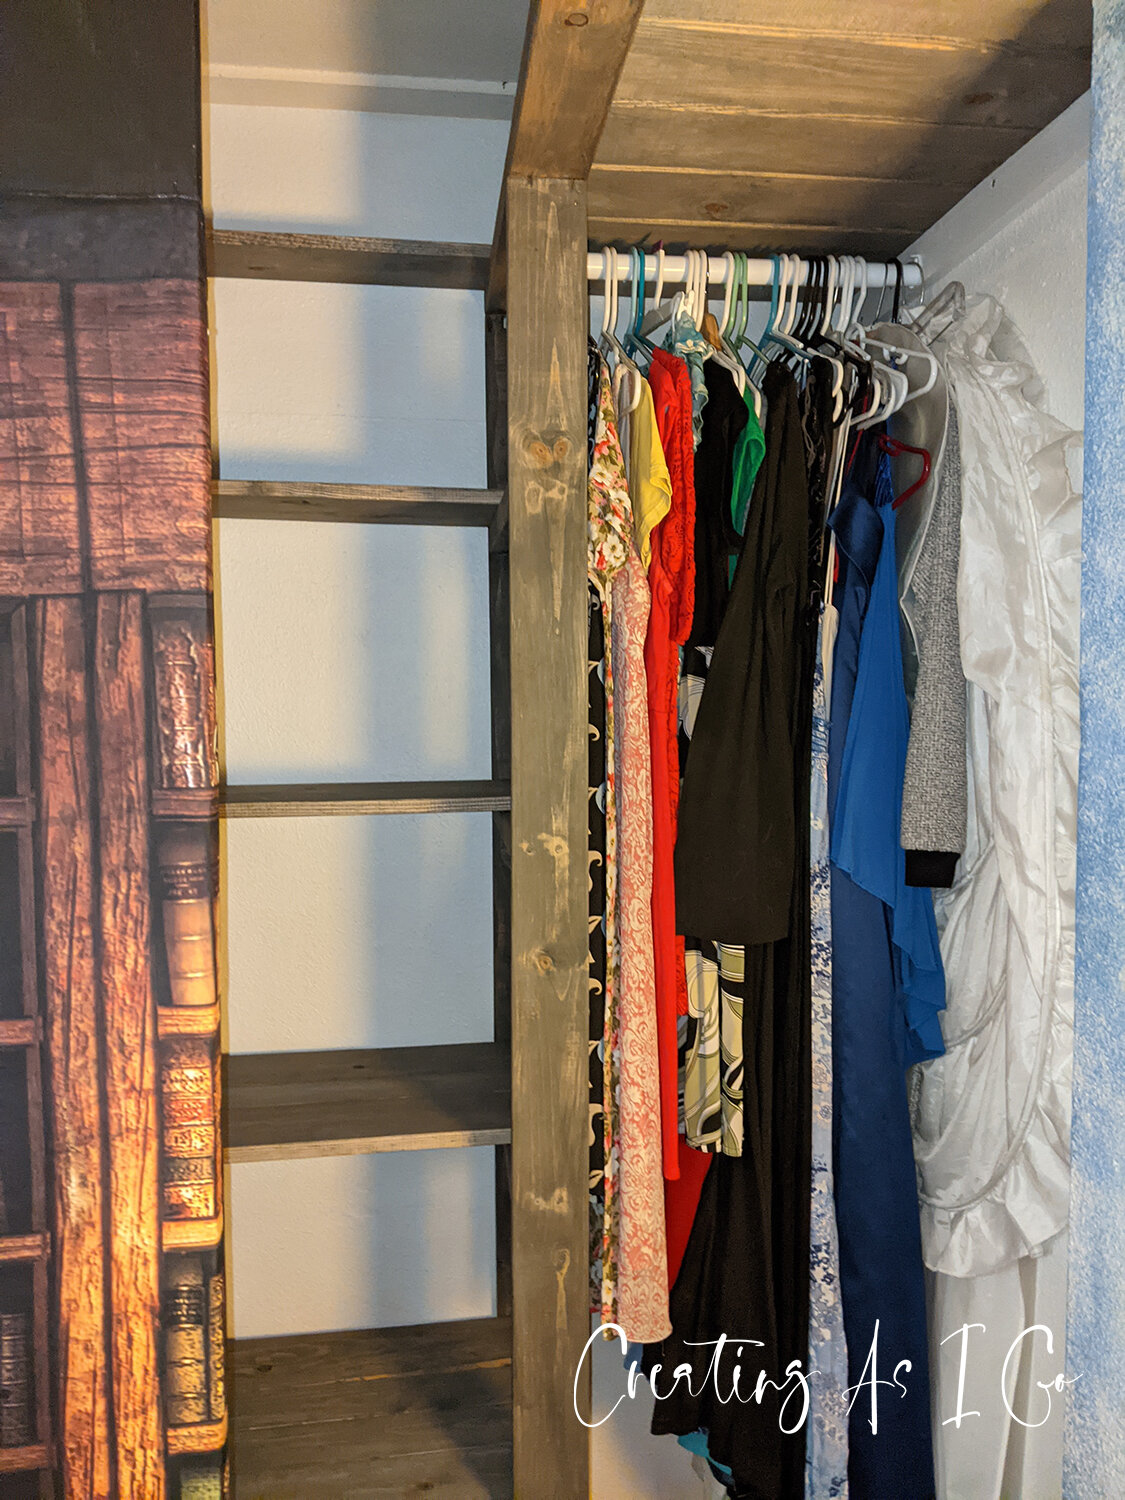
After a quick trip to Amazon, 3 motion lights (battery operated) and some baskets later (a set of fabric ones in various sizes and a large fabric one for shoes on the bottom), we have a completed closet! The unit isn’t going anywhere - and I have even climbed the ladder to test it and it is stable and usable! It’s a little bit of a tight squeeze, but since it’s not really supposed to be used very often and I was trying to sacrifice as little as possible in clothes storage, I think this will work for its intended purpose!
Disclaimer: This post contains Amazon affiliate links. I am a participant in the Amazon Services LLC Associates Program, an affiliate advertising program designed to provide a means for sites to earn advertising fees by advertising and linking to Amazon.com. This means that if you choose to purchase an item from a link in this post, I will earn a small advertising fee to help pay for future creations, so thank you!